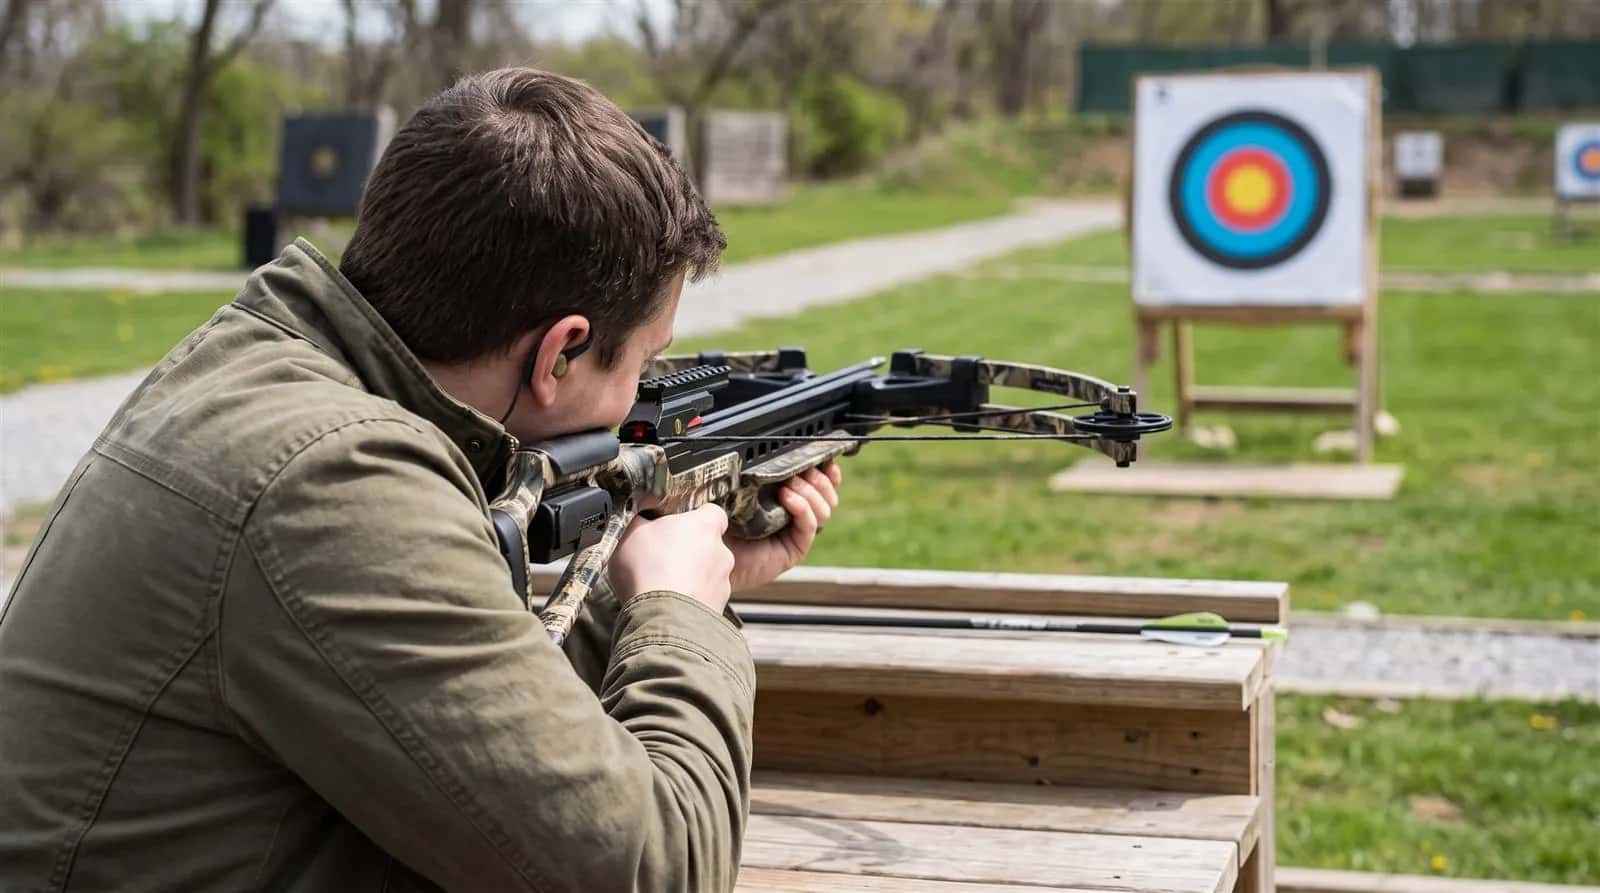
A crossbow scope that has never been sighted in is a guess with magnification attached. The reticle looks centered, the mount feels tight, and the first bolt still lands somewhere you did not expect, because nothing has told the scope where your particular bolt actually goes.
This guide shows you how to fix that in a single range session. You will set up a safe lane, get on paper with a bore-sight, zero at 20 yards, turn a measured miss into the right number of clicks, check your other aiming points, and confirm the result with the exact bolt and tip you plan to hunt with. It is written for first-time scope owners and for anyone who has been "close enough" for a few seasons and wants a zero they can trust.
Before You Shoot: Set Up a Safe Lane
Sighting in involves repeated shots from a rest, so the setup matters as much as the optics. Treat this as the safety half of the job, and keep it routine.
- Use a proper backstop. Shoot only where the area behind and around the target is known, controlled and clear, and where the target or backstop can stop a bolt that misses the paper. A commercial target or bag rated for crossbow bolts is the usual choice. A range operator or the land owner can tell you what is allowed locally.
- Keep the lane clear. Nobody stands downrange or beside the target while anyone is shooting, and the crossbow stays pointed toward the backstop whenever it is cocked.
- Handle the crossbow as loaded when it is cocked. Load only when you are on the line and ready, keep your fingers off the trigger until the sights are on target, and de-cock through the shot or the manufacturer's de-cock procedure rather than by walking around cocked. Our guide to de-cocking a crossbow safely covers the options, and crossbow safety rules for beginners covers the fundamentals.
- Never dry-fire. Releasing the string without a correctly sized bolt can damage the crossbow and injure the shooter. See dry-fire in the glossary, and follow your manual on bolt weight and length.
- Wear eye protection and keep your head and hands clear of the string path and rail.
You also need a few simple supplies: a stable rest (bench with sandbags or a shooting rest), a paper target with a clear aiming point, a ruler or tape measure, a pen and paper for notes, the tools your scope manual specifies, and a bolt type you will keep using. Pick the bolts and tips deliberately. If you have not chosen them yet, our guide to choosing crossbow bolts explains how, and it is worth doing before you sight in rather than after.
What You Are Actually Adjusting
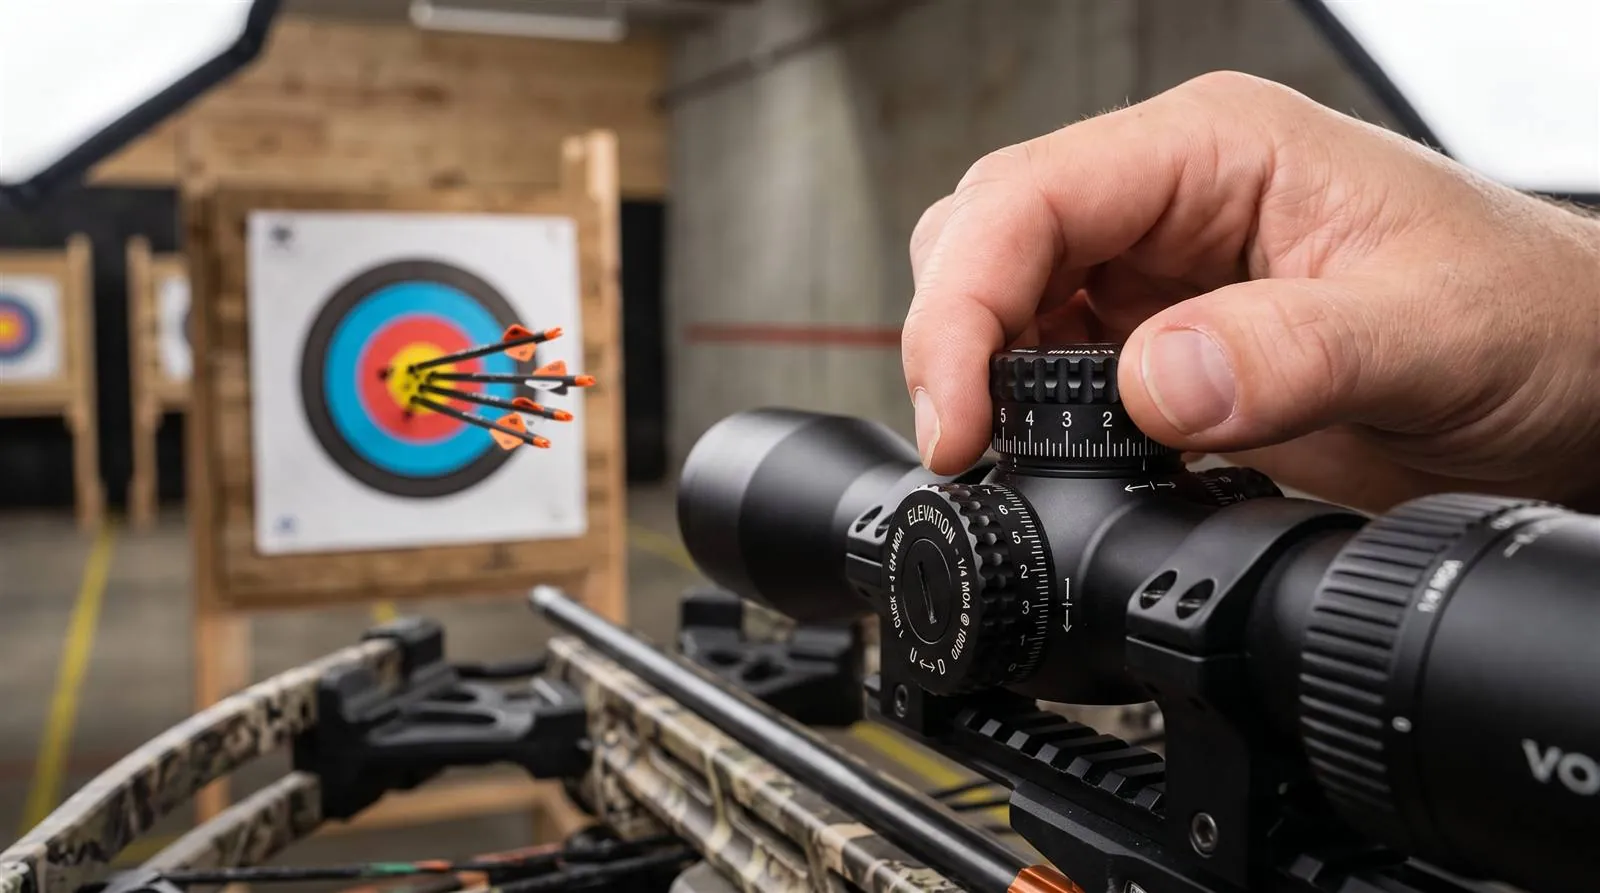
A scope has two turrets. The windage turret moves the point of impact left and right, and the elevation turret moves it up and down. Each click moves the reticle by a fixed angle, usually written in MOA, or minutes of angle.
One MOA is about 1.05 inches at 100 yards, and the shift scales with distance. That is why the numbers look tiny at close range. Two reviewed scopes show the typical values: the TruGlo 4x32 Compact has 1/4 MOA clicks, and the TenPoint RangeMaster 100 has 1/2 MOA clicks, per our reviews.
| Distance | 1 MOA moves impact by about | One 1/4 MOA click | One 1/2 MOA click |
|---|---|---|---|
| 10 yards | 0.10 in | 0.026 in | 0.052 in |
| 20 yards | 0.21 in | 0.052 in | 0.105 in |
| 30 yards | 0.31 in | 0.078 in | 0.157 in |
| 50 yards | 0.52 in | 0.131 in | 0.262 in |
The practical rule is to measure the miss in inches, divide by about 0.21 for 20 yards to get MOA, and then convert MOA into clicks using the value in your manual. Many scopes print arrows or "UP" and "RIGHT" markings on the turret that show the direction the point of impact moves, but conventions differ, so check yours before you turn anything.
Most scopes also expect a particular speed range, which is why your manual may ask for a baseline distance and a bolt weight. The RangeMaster 100, for example, is calibrated for crossbows shooting 380 to 505 FPS according to our review. If you do not know your own speed, read our explainer on how fast a crossbow bolt travels first, because a scope calibrated for the wrong speed will not track at longer distances no matter how carefully you zero it.
How to Sight In a Crossbow Scope, Step by Step
Work through these in order. Each step ends with a clear check so you know when to move on.
- Confirm the mount before the first live shot. Check that the rings or mount are tight, the scope is level with the rail, and your eye relief is comfortable with your normal cheek position. Mark the ring screws with a dab of paint or a pen line so any later movement is easy to spot. Do not adjust the turrets yet.
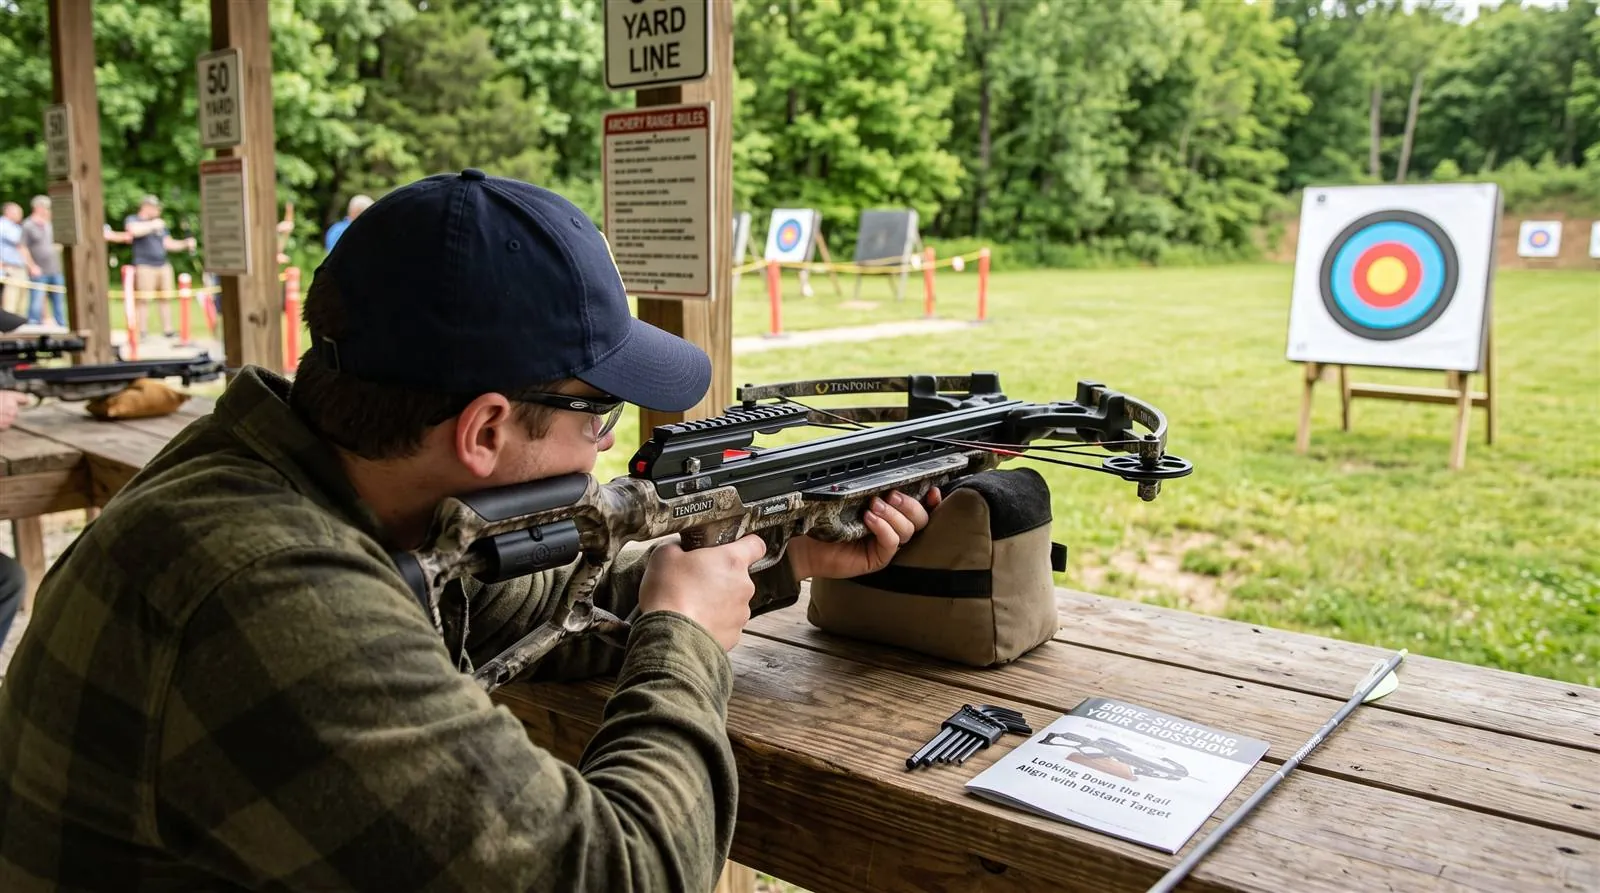
- Bore-sight with the crossbow uncocked and unloaded. If your design allows it, remove the bolt, look down the barrel or rail at a target about 20 yards away, and adjust the turrets until the reticle sits on the same spot. A laser bore-sighter that fits the barrel or bolt channel does the same job more precisely. This only gets you on paper; it is not a zero. If you cannot bore-sight, start the live-fire session at 10 yards instead.
- Shoot your first group of three at 20 yards from a rest. Aim at the same point each time using the center aiming point your manual designates for 20 yards. Keep your hold and cheek position identical, and let the rest do the work. Do not touch the turrets between bolts.
- Measure, then convert to clicks. Find the center of the three-bolt group, then measure how far it sits left or right of the aim point and above or below it, in inches. Divide each number by 0.21 to get MOA at 20 yards, then divide by the click value. Worked example with 1/4 MOA clicks: a group 2 inches low and 1 inch right is about 9.5 MOA of elevation and about 4.8 MOA of windage, which is roughly 38 and 19 clicks. With 1/2 MOA clicks the same corrections are roughly 19 and 10 clicks. Turn the turrets so the impact moves toward the aim point.
- Shoot another group of three and repeat until the group center sits on the aim point. Most sessions take two to four groups once you are on paper. Stop adjusting when the group center is within about a quarter inch of the aim point at 20 yards, or when it is as close as your group size allows. Then record the turret positions.
- Confirm the remaining aiming points and your hunting setup. Move to each distance you plan to shoot and use the matching reticle reference. Finish with your hunting broadhead or the tip you will actually hunt with, at your longest realistic distance. Details for this step are in the next sections.
Why 20 Yards Is the Usual Baseline
Nearly every multi-reticle crossbow scope anchors its first aiming point at 20 yards. The distance is close enough that your errors are easy to see on paper, and far enough that bullet drop and bolt arc are small compared with the scope's long-range references. Establishing the baseline here means the rest of the reticle is built on a correct reference point. If you zero at another distance, your manual must say so, because the other aiming points will then be off.
If Your Scope Has a Speed Dial or Speed Ring
Many multi-reticle crossbow scopes have a speed dial or ring that stretches or compresses the spacing of the lower aiming points to suit your bolt speed. Set it before you zero, to your chronographed speed with your hunting bolt rather than the rating on the box, then zero the top crosshair at 20 yards exactly as above. Next, shoot a group at a longer distance such as 40 yards using the matching aiming point. If that group lands consistently high, the dial is set slower than your bolt really flies and should move toward a higher speed; if it lands low, move it toward a lower speed. Make one small change at a time, re-check the 20-yard zero if your manual says the dial can affect it, and leave the dial alone once the longer marks print where they should.
If Your Groups Will Not Tighten
The scope is not always at fault. A loose mount, a damaged string or an unstable rest all produce scattered groups that no number of clicks can cure. Our troubleshooting table below covers what to check, and the care notes in our crossbow maintenance guide describe how to inspect the string, rail and fasteners so you can rule out the crossbow first.
Confirming Each Aiming Point
Once the 20-yard group is centered, you have only confirmed one point. Multi-reticle scopes print many references, and each one is built for a particular bolt speed. Your crossbow, your bolt weight and your mount height can all move those points away from their labelled distances.
The two reviewed multi-point scopes show the range of what to confirm:
| Scope | Aiming points | Calibrated range | Review note |
|---|---|---|---|
| TruGlo 4x32 Compact | BDC reticle | 20 to 50 yards | Aiming points held zero from 20 to 50 yards once sighted in, per our review |
| TenPoint RangeMaster 100 | Nine illuminated points | 20 to 100 yards | Built for 380 to 505 FPS crossbows; nine points tracked out to 100 yards in my testing |
| Garmin Xero X1i | Auto-ranging aim point | Out to 80 yards | Aim point tracked real bolt drop to 80 yards after we entered chronographed speed |
For each aiming point you plan to use, shoot a group at that distance and note where it lands. If every group is low, the reticle is built for a faster speed than your crossbow delivers. If every group is high, the opposite is true. If the error changes unevenly from point to point, check bolt weight, mount height and shooting form before you blame the scope.
Most scopes do not let you adjust individual mid-range points. When one is off, write the offset on a card, tape it inside your quiver or your cuff, and hold accordingly, or consult your manual for any secondary adjustment it describes. A digital scope such as the Garmin Xero X1i still needs a bolt profile or speed entered; our review notes that we entered the test crossbow's chronographed speed as a custom bolt profile, and you should follow the manual for the same step on your unit.
Tested for this topic
TenPoint RangeMaster 100Nine illuminated aiming points calibrated for 380 to 505 FPS make it a useful scope to practice a multi-distance sight-in with.
Verify at Your Longest Distance and With Your Hunting Tip
Errors grow with distance, so the farthest distance you honestly intend to shoot is the one that deserves the most attention. If you will never take a shot beyond 40 yards, zeroing the whole system at 60 yards just to say you did it is unnecessary. Choose a maximum range you can hit consistently from a rest, and confirm the scope there.
The tip matters just as much. Field points and broadheads can fly differently, especially fixed-blade designs with more surface area, so confirm your zero with the same tip you will hunt with. If you have not chosen a broadhead yet, see the fixed-blade broadhead guide and our roundup of broadheads for deer. A bolt with a different FOC or total weight can also shift your point of impact, which is the reason our guide to front-of-center balance is worth a read before you commit to a bolt.
Local law is part of this too. Rules on broadhead types, minimum energy and where you may hunt vary, so verify the current regulations with the relevant authority before the season, as outlined in our state-by-state hunting laws overview.
Re-Check After Any Change
Treat the zero as a property of the whole system rather than the scope alone. Re-verify it when you change any of these:
- Bolt brand, weight or length, or a new nock style
- Broadhead or field point weight
- The scope, rings, mount or rail
- String, cables or limbs after service
- Any drop, knock or hard travel
- The start of every season, even if nothing seems different
A quick 20-yard group takes five minutes and confirms the base. If it has shifted, redo the full process rather than nudging the turrets and hoping.
Troubleshooting: Common Mistakes and How to Fix Them
The same few problems show up again and again. Use this table first, then read the notes below it.
| Symptom | Likely cause | What to check |
|---|---|---|
| Groups scatter in every direction | Unstable rest, loose mount or inconsistent form | Tighten rings, brace the rest, repeat with the same cheek weld |
| Group drifts a little each session | Ring screws backing off or scope shifting in the rings | Check your paint marks, re-torque to manual spec |
| Zero is fine at 20 yards but wrong at 40 | Scope calibrated for a different speed or bolt weight | Chronograph your speed and compare it with the scope's rated band |
| Broadhead hits away from field-point group | Different tip weight or blade drag | Re-sight with the hunting tip |
| Vertical stringing | Inconsistent rest pressure or cheek weld | Keep the same support under the forend and the same cheek weld |
| Clicks seem to do nothing | Turret cap not seated or wrong direction | Re-read the manual, count clicks deliberately |
Shooting From an Unstable Rest
An unsupported hold adds your own wobble to every shot. Use a bench with a padded rest while you sight in, then practice from the positions you will really use afterwards.
Adjusting After One Bolt
One bolt is noise. Wait for the group, measure its center and make the correction once, then confirm with a fresh group.
Chasing a Mount Problem With the Turrets
If the zero keeps drifting, the cause is often a mount, ring or rail problem, not the optic. Fix the mounting first and then re-zero. Wearing the turrets to the end of their range to compensate for a bad mount will leave you with no adjustment left in the field.
Mixing Bolts
Different brands and weights fly differently. During sight-in use the same bolt for every shot, and write down which one it was.
Skipping the Notes
Write down turret positions, the bolt used, the tip, the distances and the group sizes. Next season those notes turn a long session into a short check.
Which Scope Type Makes Sighting In Easier?
The sight-in process stays the same, but the effort changes with the optic. Our reviews suggest three broad types:
- Fixed BDC scopes such as the TruGlo 4x32 Compact are the simplest. You zero once at the baseline, then confirm the 20 to 50 yard points.
- Multi-point variable scopes such as the RangeMaster 100 or the TenPoint EVO-X Marksman Elite take more range time because there are nine references to confirm, but they cover longer distances. The EVO-X reticle is calibrated across 300 to 550 FPS in our review.
- Auto-ranging digital scopes such as the Garmin Xero X1i remove manual ranging, but still need a speed profile and a baseline check.
If you are still choosing, read our roundup of the best crossbow scopes or browse the crossbow scopes hub.
Read nextCompare scopes before you mount oneOur roundup lays out reticle type, price and the speed range each tested scope is built for.Worked Examples: Turning a Miss Into Clicks
Two more examples help you check your arithmetic against the first one. Each uses the 0.21 inch per MOA figure at 20 yards from the table above.
| Group center relative to aim point | MOA correction | 1/4 MOA clicks | 1/2 MOA clicks |
|---|---|---|---|
| 1.5 inches left | about 7.1 MOA | about 29 | about 14 |
| 1 inch high | about 4.8 MOA | about 19 | about 10 |
| 0.5 inch low and 0.5 inch right | about 2.4 MOA each | about 10 each | about 5 each |
The same inch-based miss needs twice the correction in clicks if you measure it at 10 yards, and half as many at 40 yards. This is why every correction must be made from the group you shot at one distance, never from a miss at a different one.
Cant, Cheek Weld and Other Shooter Errors
Many zero problems are shooter problems. If your numbers look inconsistent, check these first.
- Canting the crossbow. Tilting the crossbow even slightly pushes the point of impact sideways, and the error grows with distance. Use a level, or the reticle against a vertical edge, to keep the crossbow upright.
- Cheek weld and eye relief. Place your face in the same spot every shot. A different head position changes both your view and the apparent aim point.
- Rest pressure. Press the forend into the rest the same way each time, because changing pressure moves the group.
- Trigger technique. Squeeze, do not jerk, and keep your hand clear of the rail.
- Wind and light. Note the conditions in your log, and re-shoot on a calm day if something looks off.
Range Notebook Template
Write this down at the end of each session. It turns the next sight-in into a short confirmation.
| Item | What to record |
|---|---|
| Date and conditions | Light, wind, temperature |
| Crossbow, string and scope | Any change since last session |
| Bolt and tip | Brand, weight, length, field point or broadhead |
| Distances and group sizes | The aim points you confirmed |
| Turret positions | Elevation and windage after the final group |
| Notes | Anything that felt or looked different |
Sight-In Session Checklist
- Safe lane, backstop and eye protection confirmed
- Mount tight and ring screws marked
- Crossbow bore-sighted, uncocked and unloaded
- Three-bolt group at 20 yards from a rest
- Miss measured in inches, converted to MOA and then clicks
- Group re-shot until it sits on the aim point
- Other aiming points confirmed
- Hunting tip tested at your longest distance
- Turret settings and results written down
- Crossbow de-cocked by the approved method and cased
When to Stop and See a Technician
The scope is rarely the only suspect. Stop sighting in and have the crossbow looked at by a dealer or qualified technician if:
- Groups will not tighten after you have checked the rest, mount and form
- The zero keeps drifting between sessions
- Turret clicks have no effect or the turret feels loose, gritty or stuck
- You see string fraying, limb damage or loose hardware
- The point of impact moves after a drop or knock you cannot explain
- Groups open up and nothing you change improves them
Do not keep adjusting to chase a fault. Resolve the mechanical cause first, then repeat the process from the start.
Before you head to the range, the bolt drop chart estimates where each aiming mark should land for your speed.
If your reticle is calibrated for the wrong speed, no amount of adjustment will line up every mark; how to choose a crossbow scope explains speed-calibrated reticles, and the scope speed matcher lists the scopes that match your crossbow.
Frequently Asked Questions
What distance should I start at when sighting in a crossbow scope?
Start at 20 yards if you bore-sighted first, because it is the usual baseline for crossbow scopes and makes small errors easy to read on paper. If you could not bore-sight, begin at 10 yards to get on target, then move back to 20.
How many shots do I need before I adjust the scope?
Shoot a group of three before you touch a turret, and measure the center of that group rather than any single bolt. One shot can be pulled by form or wind and will send you chasing noise. Five-bolt groups are better for longer-distance confirmation.
How many clicks equal an inch at 20 yards?
One MOA is about 0.21 inch at 20 yards, so a 1/4 MOA click moves the impact roughly 0.05 inch and a 1/2 MOA click roughly 0.1 inch. That means one inch at 20 yards is about 19 quarter-MOA clicks or about 10 half-MOA clicks. Check your own scope's stated click value in the manual.
Do I need to sight in every aiming point on a multi-reticle scope?
You should confirm every aiming point you plan to rely on in the field. A 20-yard zero does not guarantee that the 50 or 80 yard reference is correct for your bolt weight and speed. If one is off, note the offset and hold for it, because most scopes do not allow adjusting individual points.
Should I sight in with field points or my broadhead?
Start with field points to save wear, then finish with the exact broadhead you will hunt with, at your longest realistic distance. Broadheads, particularly fixed-blade designs, can land away from the field-point group. If they do, use the hunting tip as the reference.
When should I re-check my zero?
Re-check after any change to the bolt, tip, scope, mount, rail or string, after any hard knock, and at the start of every season. A quick 20-yard group takes only a few minutes and tells you whether the base is still correct.
Does an auto-ranging digital scope still need to be sighted in?
Yes. A scope such as the Garmin Xero X1i calculates distance automatically, but it still needs your crossbow's speed or bolt profile and a baseline check. Our review describes entering a chronographed speed as a custom profile, and your manual describes the steps for your unit.
Why does my crossbow scope lose its zero?
The usual causes are loose rings or mounts, a worn string, a changed bolt or tip, or a hard knock. Check mounting first by looking at your marks on the ring screws, then confirm with a fresh 20-yard group.
Does canting the crossbow affect where the bolt lands?
Yes. Tilting the crossbow moves the point of impact sideways, and the error grows with distance. Keep the crossbow level using the same grip and cheek weld, and consider a level or bubble where your setup allows.
How do I know if the problem is my scope or my crossbow?
Rule out the simple causes first: tighten the mount, check the string and rail, use the same bolt and shoot from a rest. If groups stay scattered after that, have a technician check the crossbow before you blame the optic.
Final Recommendation
A reliable zero is a process, not a setting. Make the lane safe, get on paper with a bore-sight, zero at 20 yards using measured groups and click math, confirm each aiming point you will use, and finish with your hunting tip at your longest realistic distance. Keep notes, and repeat a short check before every season.
If your scope cannot hold a zero or does not suit your crossbow's speed, the fix may be a better match. Start with the best crossbow scopes, or read the full TruGlo 4x32 Compact review if you want a simple BDC reticle to learn the process on.
Gear mentioned in this guide
Reviews we link to above, highest rated first. Read the full review before you buy.
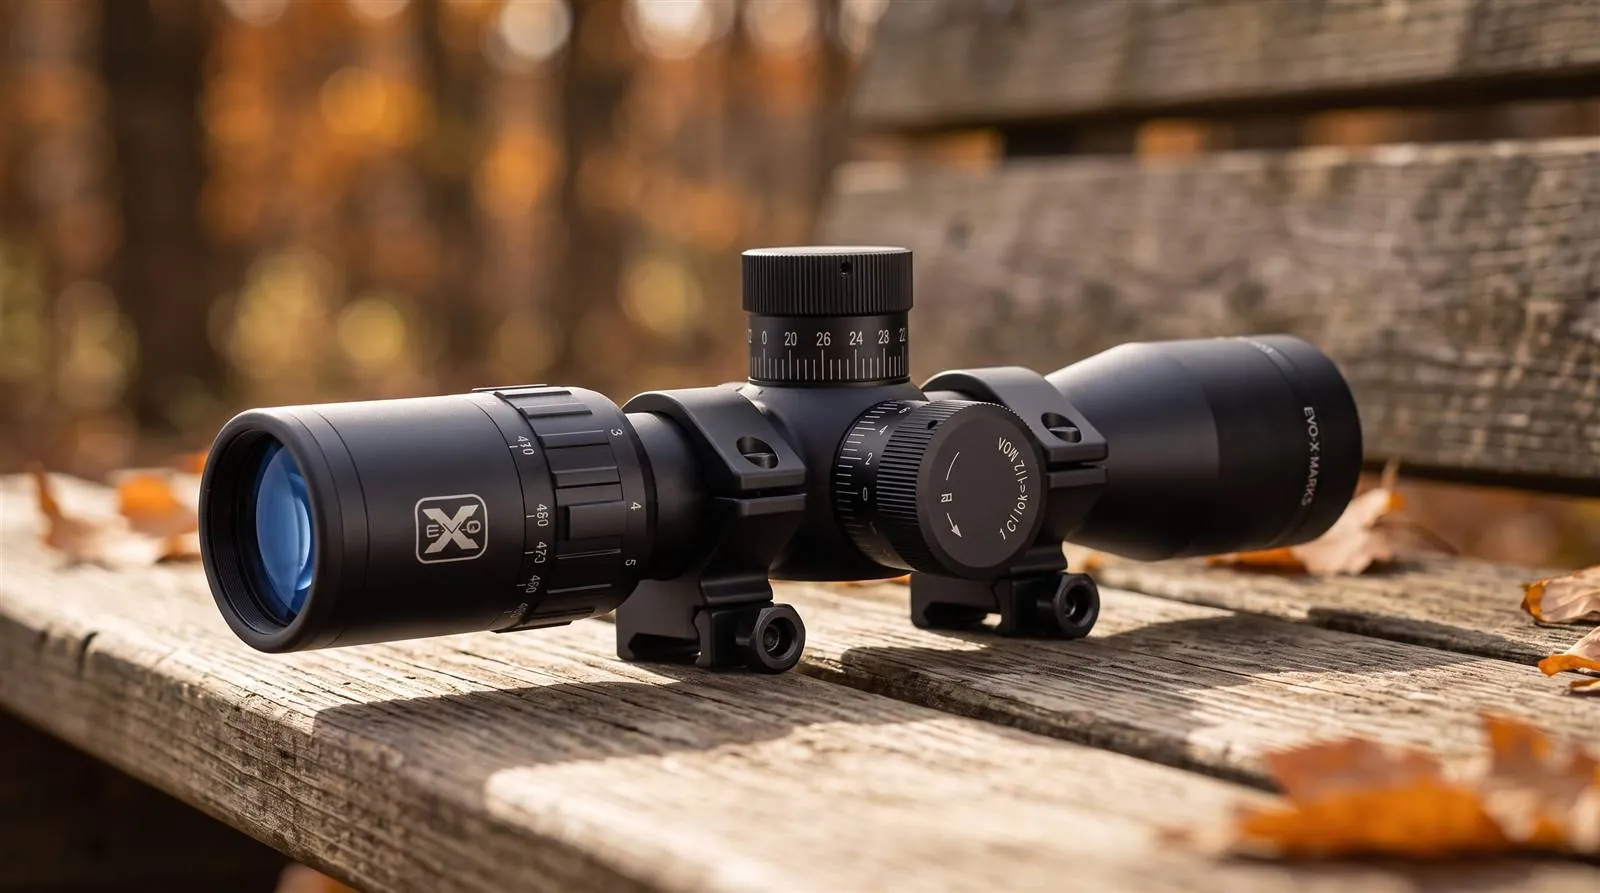
EVO-X Marksman Elite Review
Glass-reticle crossbow scope that covers a wide speed band and held its zero. Premium optics without batteries at about half the price of digital rivals.
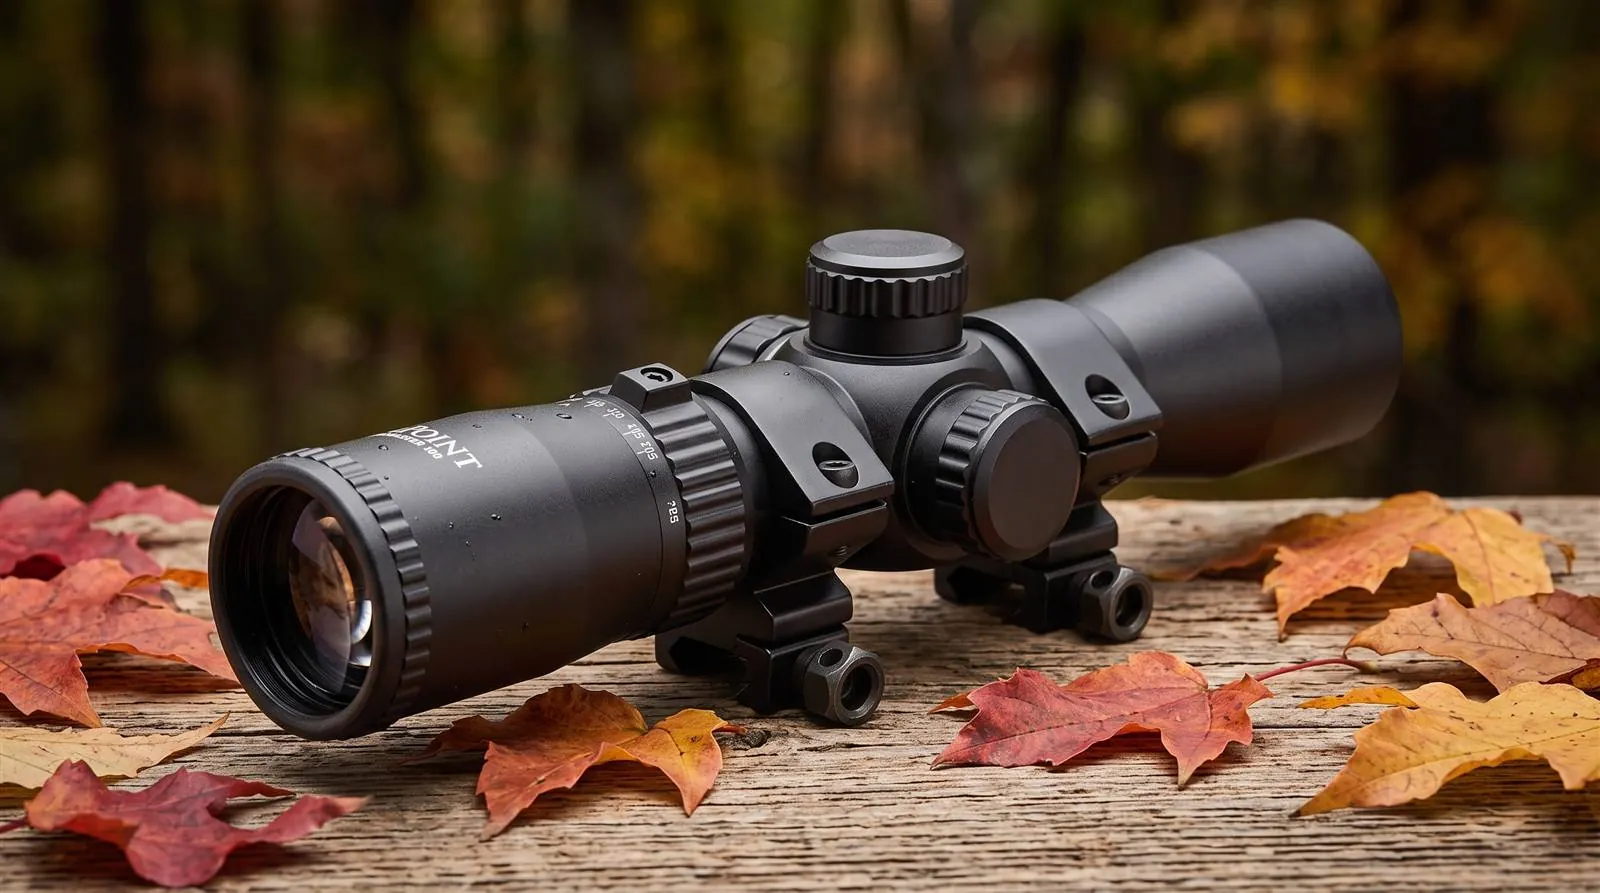
TenPoint RangeMaster 100 Review
Illuminated crossbow scope with nine aiming points to 100 yards that tracked point of impact from 380 to 505 FPS. Rings and caps included.
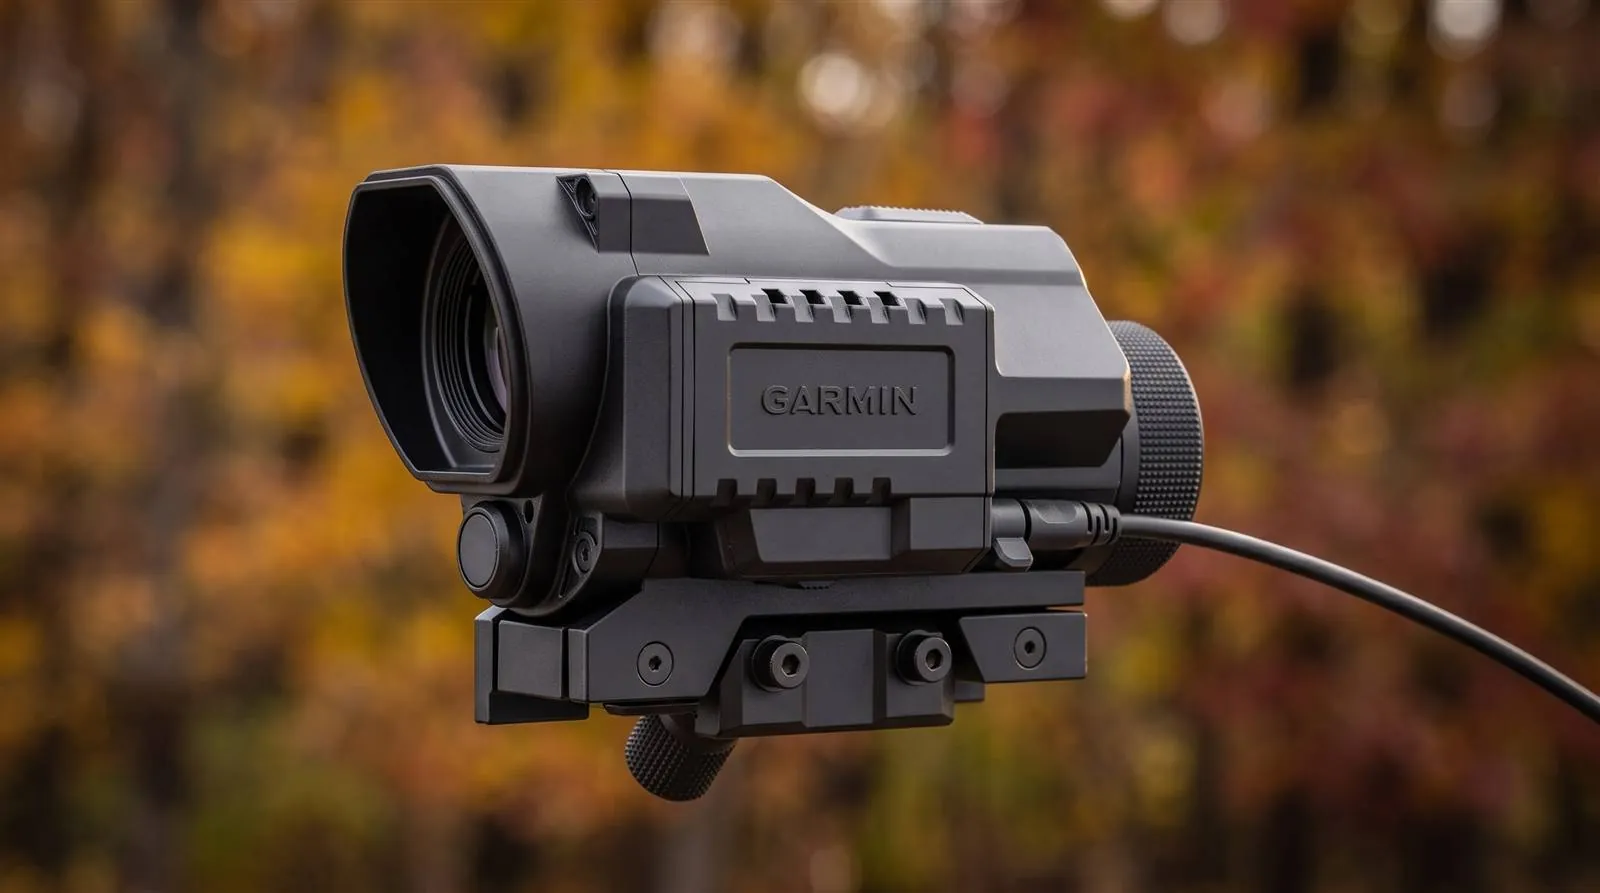
Garmin Xero X1i Scope Review
Auto-ranging crossbow scope with continuous laser ranging, aim points that tracked bolt drop to 80 yards and GPS shot tracking. Fixed magnification only.
Ready to compare models? Browse our crossbow scopes & optics reviews, or see all reviews to see how each one measured up in testing.
More in Maintenance & Troubleshooting, Hunting Laws & Safety
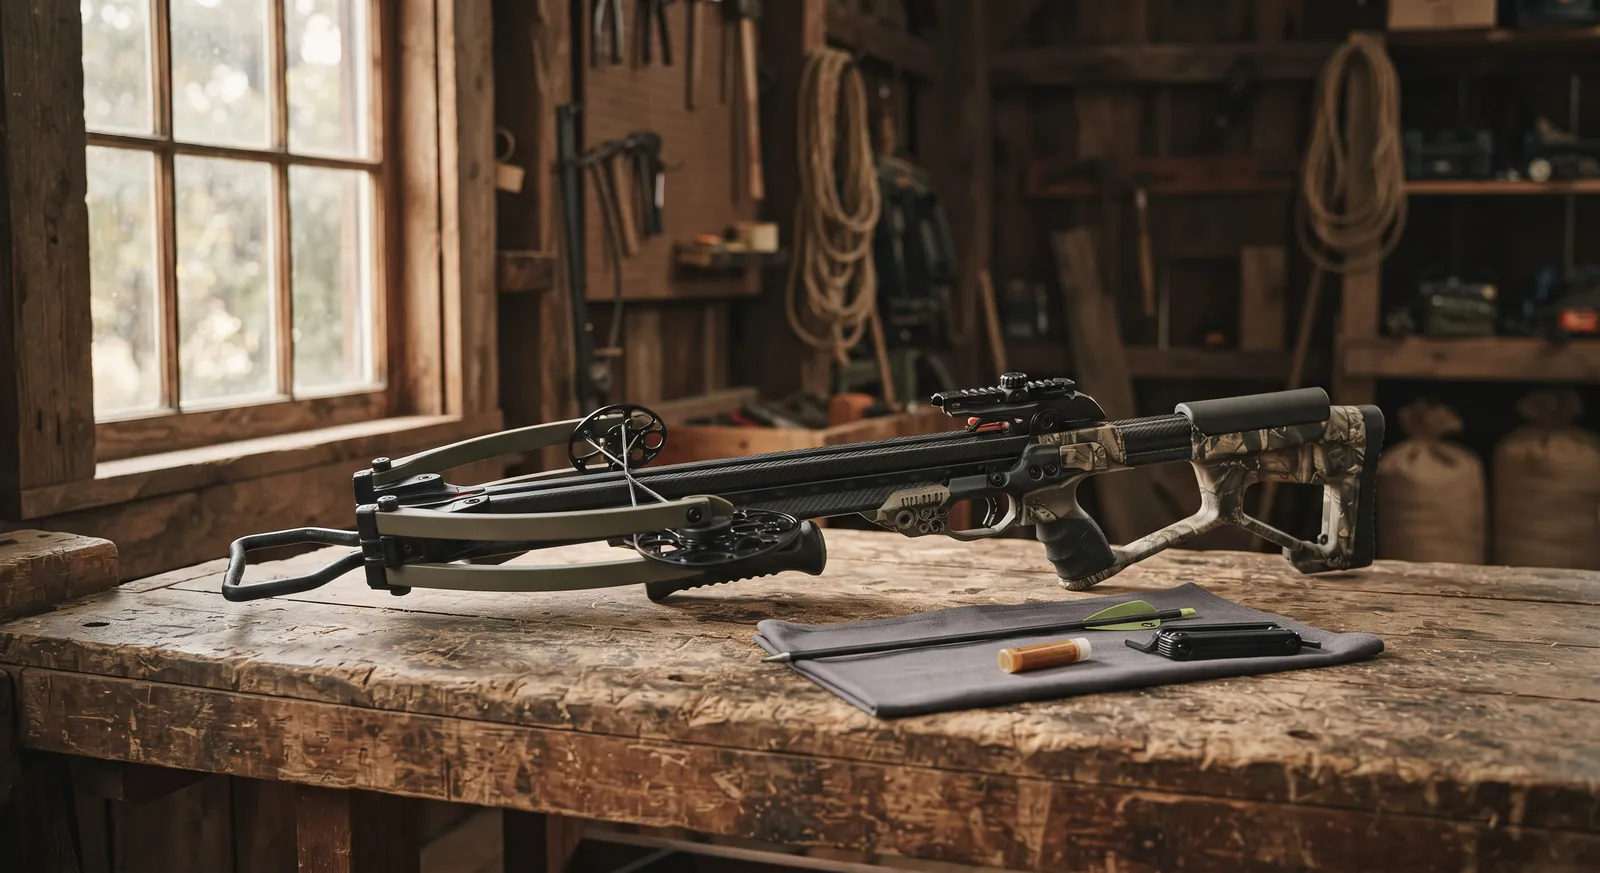
Crossbow Won't Fire: Causes & Fixes
A diagnosis table for a crossbow that won't fire: safety on, unseated bolt, wrong nock, bolt specs, retention spring and trigger problems, and when to stop.
Read guide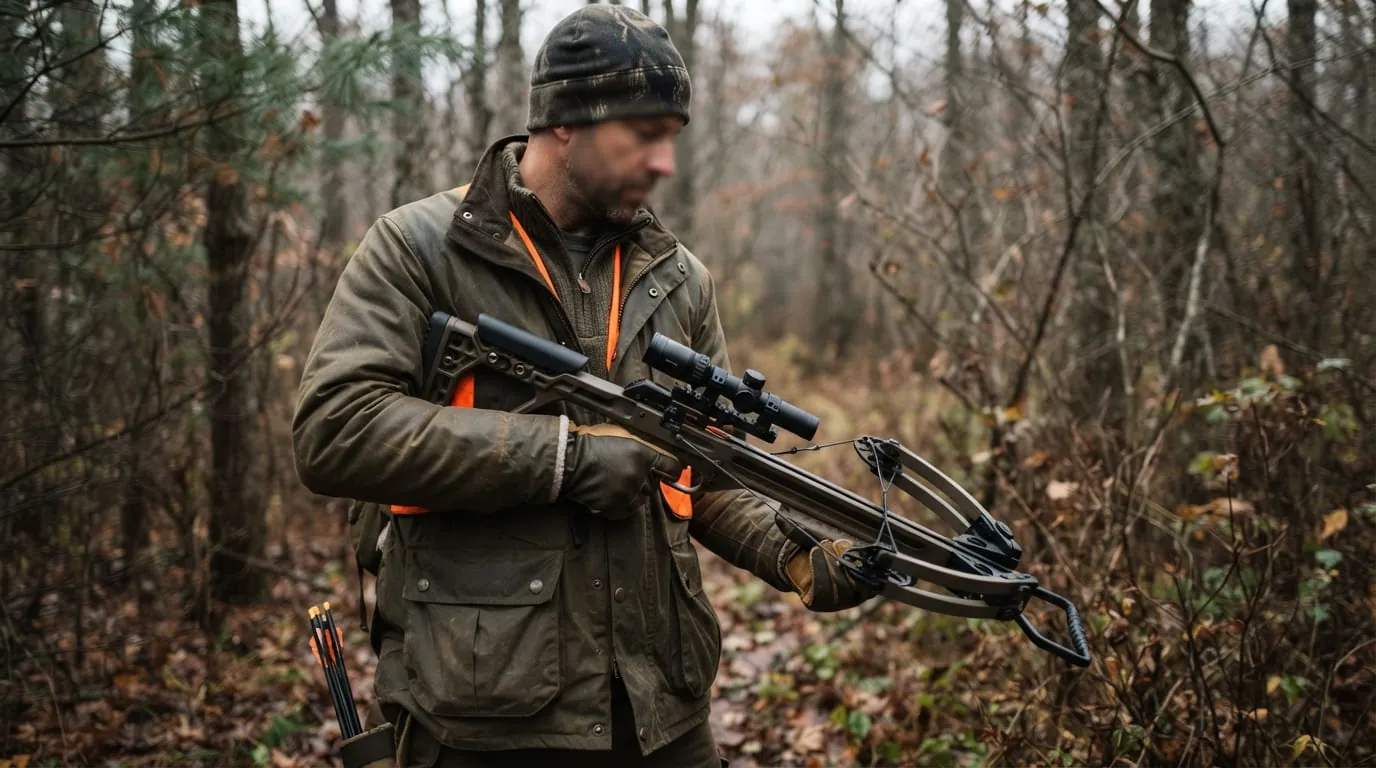
How to Decock a Crossbow Safely
How to de-cock a crossbow safely using integrated systems or a discharge bolt into a rated target, plus what never to do and how to fix common mistakes.
Read guide
How to Cock a Crossbow: Rope vs Crank
Hand cocking, rope cocking, crank devices and integrated systems compared, with the steps that keep the string centered and your fingers clear.
Read guide