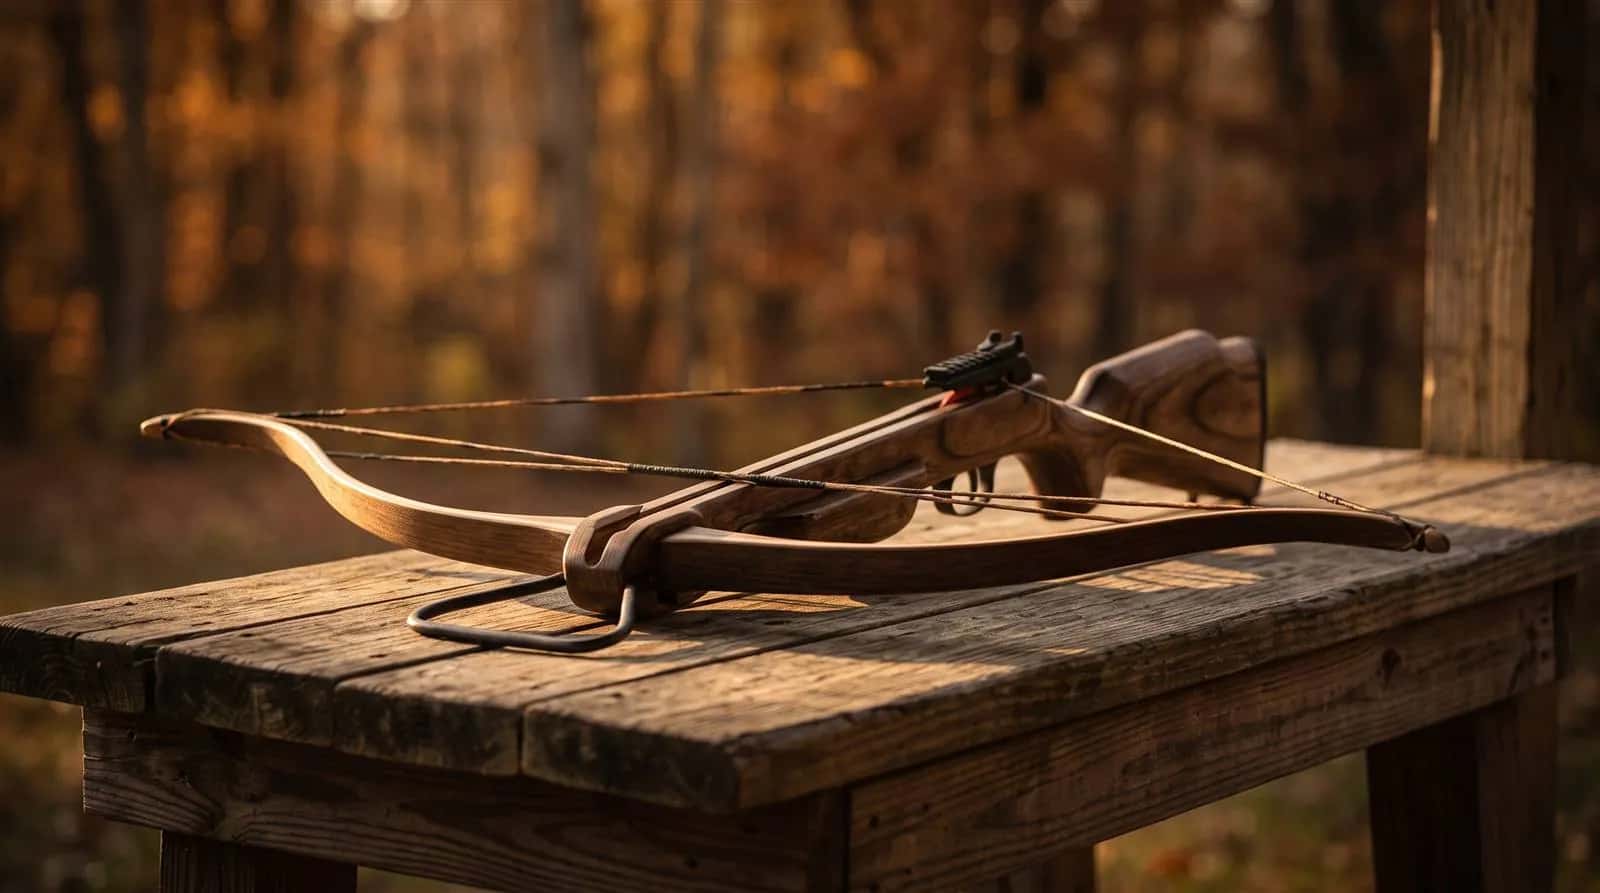
A recurve crossbow is one of the few crossbows you can restring on a bench at home, with no bow press and no trip to a pro shop. That is a real ownership advantage of simple limbs, and it is the reason this page exists: learning how to string a recurve crossbow correctly turns a worn string from a season-ending problem into a twenty-minute job.
The method below uses a stringing aid, which is the tool most recurve manufacturers supply or sell for the purpose. You will learn how to set it up, how to get the limbs flexed and held safely, how to seat the new string loops in the limb tip grooves, how to let the limbs down under control, and how to check your work before you shoot. It also covers unstringing for storage and transport, the signs that your string needs replacing rather than waxing, and the shortcuts that crack limb tips.
It is written for recurve owners who have never changed a string, and for anyone who bought a kit with a stringer in the box and is not sure what it is for. If you own a compound, stop here: compound strings and cables run through cams and need a press and correct timing, so that is a technician's job.
What Stringing a Recurve Crossbow Involves
A recurve crossbow stores energy by flexing two limbs; the string simply connects their tips. To swap the string you need the limb tips pulled closer together than their resting position, far enough to take tension off the string so it can be lifted out of its grooves. A stringing aid is a longer rope-and-holder loop (or, on many budget kits, a longer "stringer" string) that lets the crossbow's own trigger and cocking aid do that flexing for you.
That is the whole trick. You cock the crossbow on the stringing aid instead of the string, the trigger latch holds the limbs flexed, and the real string becomes slack enough to remove and replace. Then you reverse the process to let the limbs down onto the new string. No press, no clamps, no hand-flexing.
The string on a recurve has no cables or cams, which is why this is possible at all. Our recurve crossbows hub explains the trade-off that comes with those simple limbs: higher draw weight for the same speed, which also means you are handling more stored load during a string change than the speed figure suggests.
When to Replace a Recurve Crossbow String
Before learning the procedure, decide whether you need it. Most of the time a dry-looking string wants wax, not replacement. Our crossbow maintenance guide covers the waxing routine; this table is the dividing line between that routine and a new string.
| What you see | What it means | What to do |
|---|---|---|
| Light, dull or slightly fuzzy string surface | Dry fibers | Wax it; keep shooting |
| Center serving separating or sliding | Serving has failed; the string underneath will go next | Replace the string |
| Individual strands broken or cut | Structural damage | Stop shooting; replace the string |
| Visible wear or flattening at the limb tip loops | Loop fibers abrading in the groove | Replace the string; inspect the grooves |
| Heavy twist or the string will not sit straight on the rail | String has lost its shape | Replace it and check the rail for burrs |
| Speed drops or groups open with no other change | Possible stretched or damaged string | Inspect closely; replace if anything above applies |
How often that happens depends on shot count, waxing and storage, so follow your manual's interval and inspect before every session. Excalibur's own guidance for the Mag Air is to wax the center serving roughly every 30 to 40 shots and to do a closer inspection around every 100 shots; treat that as an example of a manufacturer schedule rather than a rule for every brand.
A worn or damaged nock also shortens string life, because a rough nock chews the serving on every shot. If the serving is wearing early, check your bolts before you blame the string.
Tools and Parts You Need
Keep the list short and have everything on the bench before you start, because once the aid is latched you do not want to go looking for anything.
- The correct replacement string for your exact model. Recurve strings are made to a set length and loop size; a string for a different model or limb length will either not fit or will change brace height and performance. Order by model name, not by eyeballing length.
- A stringing aid. Rope-style aids (two limb holders joined by an adjustable rope) are supplied or sold by Excalibur and others. Budget kits such as the Avalanche Anaconda include a stringer in the box; the review lists it alongside the wax, sling, quiver and cocking rope.
- Your cocking aid. The included rope cocker is what draws the stringing aid to the latch. A crank cocking aid can do the same job on models that accept one, but keep in mind that you will need to control the let-down with it as well.
- String wax for the new string's first dressing.
- Safety glasses. The limbs are under full load with your face a foot or two away.
- A clear bench or floor space with the stirrup end against something that will not slide.
Rope-Style Stringing Aid vs Stringer String
| Feature | Rope-style stringing aid | Stringer string (budget kits) |
|---|---|---|
| How it attaches | Limb holders slip over the limb tips | A longer, non-shooting string sits in the limb grooves or a second groove |
| Adjustable | Yes, rope length set through the holders | No, fixed length |
| Works on unstrung limbs | Yes, if the rope is long enough | Only if it fits the relaxed limbs |
| Typical with | Excalibur models and aftermarket kits | Entry-level recurve packages |
| Main risk | Holders not fully seated on the tips | Shooting or latching on the wrong string |
The procedure is the same with either: cock on the aid, change the string, let the limbs down onto the string. The stringer-string type is easier to confuse with the real string, so mark it or keep it in the kit bag the moment the job is done.
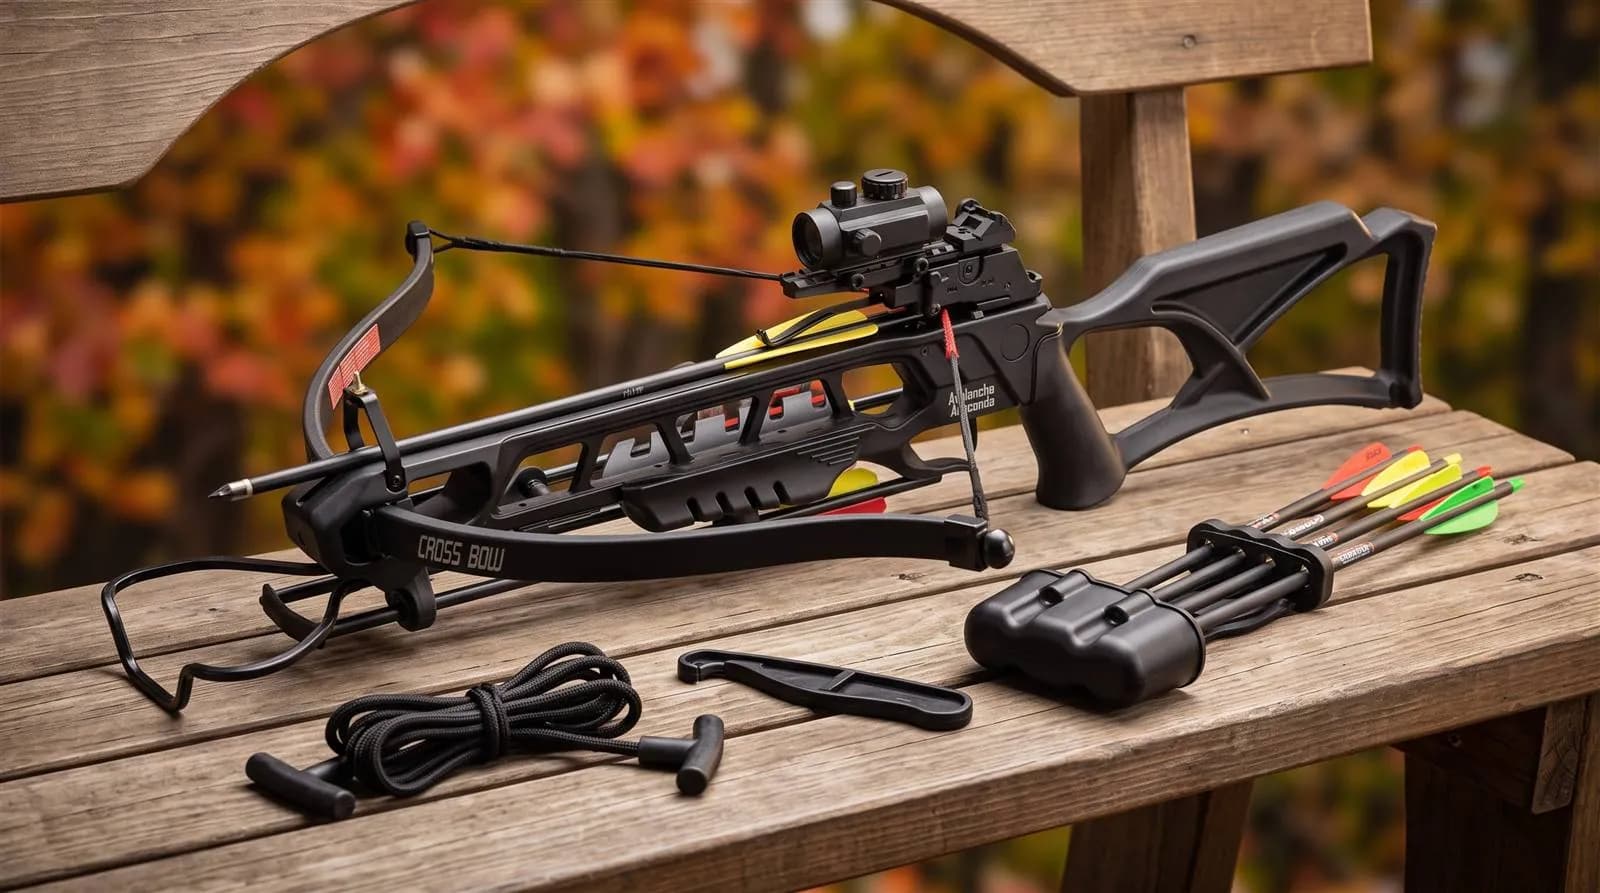
Before You Start: Safety and Setup
A recurve crossbow at full flex during a string change is holding as much energy as it does when cocked, and the only thing keeping it there is the trigger latch. Treat the job with the same discipline as cocking and de-cocking.
- Confirm the crossbow is unloaded and there is no bolt anywhere near the rail.
- Clear the area in front of the limbs. If a holder slips, the limb tips move fast toward their resting position.
- Put on safety glasses.
- Inspect the limbs and tips for cracks, chips or lifted laminations before you flex them. A damaged limb should not be flexed at all; stop and contact the manufacturer.
- Inspect the stringing aid. Frayed rope, cracked holders or a worn wear-tube is a reason to replace the aid, not to proceed.
- Read your model's stringing steps once more, including anything about the anti-dry-fire system.
Our crossbow safety rules for beginners guide sets out the general handling habits this job sits inside.
How to String a Recurve Crossbow Step by Step
These steps follow the common rope-style stringing aid sequence. Where your manual differs, your manual wins.
Step 1: Fit the Stringing Aid
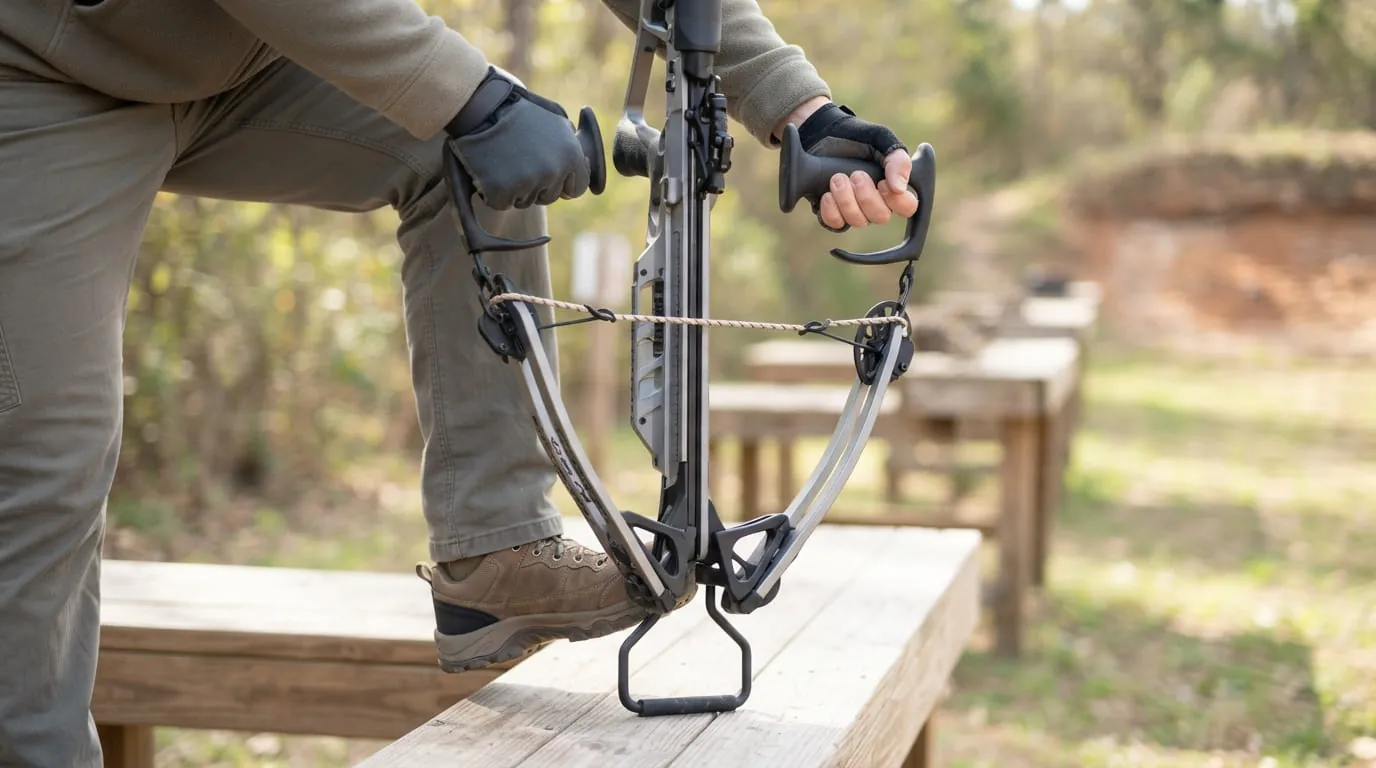
Slip a limb holder over each limb tip with the rope running toward the trigger and the protective wear-tube centered where the rope will sit against the rail. Both holders must be fully seated against the tips, not perched on the edge.
Step 2: Set the Rope Length
Adjust the rope through the holes in the holders so the limbs will flex just far enough to free the string loops, and no further. The rope end should pass back under the loop so it cannot slip. If the crossbow is currently unstrung, the rope must be long enough for the holders to reach the relaxed limb tips.
Step 3: Cock the Crossbow on the Aid
Set the safety to fire, put your foot firmly in the foot stirrup, hook your cocking rope onto the stringing aid's rope exactly as you would on the string, and draw straight up with both hands until the latch clicks. Set the safety to safe. The technique is the same as our how to cock a crossbow guide, and the effort is similar: on a 175 lb or 195 lb recurve, expect to lift close to half the draw weight at your hands even with the rope.
Step 4: Remove the Old String
With the limbs held flexed, lift each string loop out of its limb tip groove and pull the string back through the holders. If a loop will not move freely, the limbs are not flexed enough; lower the aid as described in Step 7 and lengthen the rope slightly, rather than prying.
Step 5: Fit the New String
Run the new string's loops through the holders and over the tips, then seat each loop fully in its groove. Check both sides by eye and by feel. A loop sitting half on the groove edge is the single most common cause of a string jumping off when the limbs come down.
Step 6: Line Up the String
Make sure the center serving sits centered on the rail and the string is not twisted around itself between the tips. If your manual specifies a number of twists or a brace-height check, do it now while the string is slack.
Step 7: Let the Limbs Down
Set the safety to fire. Lift the stringing aid rope with your cocking aid until the trigger latch carries no load and you are holding the full limb weight. Keep a firm, two-handed grip. Release the trigger (on some models you push it with a thumb; on others you pull it with the free hand while supporting the load), then lower the rope slowly until the new string takes the tension and the aid goes slack.
Step 8: Remove the Aid and Check
Pull the holders off the tips and put the aid away. Look again at both loops in their grooves, the serving on the rail and the string alignment. Lightly wax the new string's exposed strands, keeping wax off the latch area.
Models With an Anti-Dry-Fire Catch
Some recurves, including the Excalibur Mag Air with its Guardian system, block the trigger unless a bolt is seated. That is excellent on the range and a complication on the bench, because a string change needs the trigger to release with no bolt loaded. Excalibur's procedure for the Mag Air has you press and hold the Guardian deactivation lever forward before pulling the trigger to lower the stringing aid, and notes that if the string catches on the Guardian catch, you pull it back into the trigger and try again.
The lesson applies more widely: if your crossbow has an anti-dry-fire mechanism, your manual will describe how to disable it for stringing and de-cocking. Do not force the trigger, and do not defeat the mechanism with anything other than the control designed for it. In my Mag Air review the Guardian engaged in every no-bolt scenario I could safely simulate, which is exactly why it has to be deliberately held off here.
Tested for this topic
Excalibur Mag AirA 136 lb recurve with a mechanical anti-dry-fire trigger, which changes the stringing sequence as described above.
How to Unstring a Recurve Crossbow
Unstringing uses the same tool and is worth knowing for long storage, transport in a tight case, or shipping the crossbow for service. It is the stringing procedure in reverse.
- Fit the holders over the strung (not cocked) limb tips with your foot in the stirrup.
- Draw the aid with the cocking rope until it latches, and set the safety.
- Lift both loops out of the limb tip grooves and pull the string through the holders.
- Take the weight on the rope, release the trigger, and ease the rope down until the limbs reach their relaxed, unstrung position.
- Remove the aid and store the string coiled, waxed and flat.
Whether you should unstring for storage at all depends on the model. Many owners leave a recurve strung and simply store it uncocked in a case, as our maintenance guide describes. Check your manual before deciding; it is the only source for what your limbs are designed to tolerate.
Checking Your Work Before the First Shot
A string change is not finished when the aid comes off. Run this list before you cock the crossbow for real.
- Both loops seated. Look into each limb tip groove from the side. The loop should fill the groove with no fibers riding the edge.
- Serving centered. The center serving should sit evenly over the rail with the string resting flat, not angled to one side.
- No twist. Sight down the string from the stirrup; it should run straight tip to tip.
- Correct brace height. If your manual gives a measurement from the string to a reference point, measure it. A string that sits noticeably further from the rail than before may be the wrong length.
- Latch and safety function. Cock the crossbow normally with no bolt, confirm the safety engages automatically, then de-cock by your manual's approved method. If you need a refresher, read how to de-cock a crossbow safely.
- First shots at short range. Shoot a few bolts at 10 to 20 yards into a rated target. A new string often needs re-zeroing; our how to sight in a crossbow scope guide covers that.
Common Mistakes and How to Fix Them
Every string-change injury or cracked limb tip I have heard of traces back to one of these.
| Mistake | Why it goes wrong | Do this instead |
|---|---|---|
| Flexing the limbs by hand or against the floor | Uneven load twists the limbs and can crack a tip | Use a stringing aid and the trigger latch |
| Prying a loop on with a screwdriver | Cuts strands and gouges the groove | Lengthen the aid rope so the loop slips on freely |
| Holders perched on the edge of the tips | Holder slips under load; limb snaps forward | Seat both holders fully before drawing |
| Releasing the trigger before taking the weight | Limbs drop onto the string in a jolt | Lift until the latch is unloaded, then release |
| Letting the rope run through your hands | Loss of control on the way down | Lower slowly, two hands, foot planted |
| Shooting with a loop half-seated | String jumps the groove on the shot, a dry-fire in effect | Check both grooves by eye and feel |
| Using a string from another model | Wrong length changes brace height and speed, or will not fit | Order by exact model |
| Cocking on the stringer string by mistake | The stringer is not built to be shot | Mark or store the stringer separately |
If the New String Will Not Reach the Grooves
The limbs are not flexed enough. Do not pull harder on the string. Lower the aid, lengthen the rope slightly so the limbs draw a little further, and try again. If the string is still well short with the limbs fully drawn, it is the wrong string.
If the Aid Will Not Latch
The rope is probably set too long, so the limbs are not being drawn far enough for the latch to catch. Shorten it a little. Also check that the cocking rope hooks are seated on the aid rope, not on the string.
If a Limb Tip Looks Damaged Afterward
Stop. A chipped or cracked tip is not a wax-and-carry-on problem. Unstring the crossbow if you safely can, or leave it as it is pointed in a safe direction, and contact the manufacturer or a qualified dealer. Our crossbow won't fire guide covers the other post-service faults worth ruling out before you blame the string.
Recurve Strings vs Compound Strings and Cables
The reason this job is a home job on a recurve and a shop job on a compound comes down to the parts count. A recurve has one string between two limb tips. A compound crossbow adds cams and cables that must be pressed, timed and synchronised; get the timing wrong and the crossbow shoots inconsistently or damages itself.
That difference shows up in ownership cost over years. In our compound vs recurve crossbow comparison, lower upkeep is one of the few clear wins for recurve limbs, and string changes are the biggest single piece of it. The Barnett Wildcat CRX review makes the same point: a recurve's routine is short, with no cams or cables to time, but a 195 lb string carries a lot of load, so inspection matters more, not less.
If you are deciding between the two designs and expect to do your own maintenance, our recurve crossbow buying guide weighs that against the extra cocking effort recurves ask for. The cocking effort estimator shows roughly what a given draw weight means at your hands, which is also the effort of drawing the stringing aid.
Read nextKeep the new string aliveWaxing, rail care and the inspection routine that stretches the time between string changes.Stringing Schedule and String Care
A string change is rare; string care is constant. The habits below keep the interval long.
- Wax when the string looks dry, rubbing wax lightly along the exposed strands and leaving the serving as your manual directs. Our string wax glossary entry explains what the wax does.
- Keep the rail lubricated as your manual specifies, because a dry rail abrades the serving on every shot. See the rail lubricant entry for what to use.
- Check the serving before every session. Separation is the earliest reliable sign that a new string is due.
- Retire damaged nocks. A cracked or rough nock cuts the serving.
- Store uncocked, in a case, away from heat. Hot vehicles are hard on string fibers and limb glue lines alike.
- Keep a spare string and your stringing aid together in the case. The time you need a string is usually the morning you are already late.
Frequently Asked Questions
Can you string a recurve crossbow without a stringer?
Not safely. The limbs must be flexed evenly and held while the string loops go on, and the stringing aid plus the trigger latch is what does that. Hand-flexing or bracing the limbs against the floor loads them unevenly and is the usual way limb tips get cracked. If your kit did not include an aid, buy the one your manufacturer sells.
How do I know which replacement string fits my recurve crossbow?
Order by exact model name from the manufacturer or a dealer. Recurve strings are built to a set length and loop size for a given limb, and a string from another model will either not reach the grooves or will sit at the wrong brace height. Do not try to match a string by measuring an old, stretched one.
How often should a recurve crossbow string be replaced?
It depends on shot count, waxing and storage, so follow your manual's interval and inspect before every session. Replace it when the serving separates, strands break, loops show wear at the tips, or the string will not sit straight. Excalibur suggests a closer inspection around every 100 shots on the Mag Air, which is a useful benchmark for other brands.
Do I need a bow press to change a recurve crossbow string?
No. A press is needed for compound strings and cables that run through cams. A recurve's single string is changed with a stringing aid that uses the crossbow's own cocking rope and trigger latch to hold the limbs flexed, which is why it is a job you can do at home.
What is the difference between a stringer and a cocking rope?
The cocking rope has two hooks and handles and draws the string (or the stringing aid) to the latch. The stringer, or stringing aid, is the longer loop that sits on the limb tips in place of the string so the limbs can be flexed without the string under load. Budget kits such as the Avalanche Anaconda include both, and they are easy to mix up.
Why does my crossbow shoot differently after a new string?
A new string can be a fraction shorter or longer than the old, stretched one and will settle over the first few dozen shots, so speed and point of impact move. Shoot a short settling session at close range, then re-zero the scope. If groups stay inconsistent, re-check that both loops are fully seated in the grooves.
Can I change the string on a recurve with an anti-dry-fire trigger?
Yes, but the sequence has an extra step. Because the trigger must release the stringing aid with no bolt loaded, the mechanism has to be held off using the control the manufacturer provides, such as the Guardian deactivation lever on the Excalibur Mag Air. Never defeat the mechanism any other way.
Should I unstring my recurve crossbow for storage?
Check your manual. Many recurve owners store the crossbow strung but uncocked in a case, and that is standard advice on this site. Unstringing is mainly worth it for very long storage, shipping, or a case that will not take the strung width. Never store it cocked.
How much force does it take to draw the stringing aid?
About the same as cocking the crossbow, because you are flexing the same limbs. With the included rope cocker the Wildcat CRX review found roughly half of its 195 lb draw at the hands, and the Anaconda's 175 lb draw was manageable for most adults with its rope. If you struggle to cock your crossbow, you will struggle to restring it, so plan accordingly.
What should I do if the string comes off a limb tip during a shot?
Stop shooting immediately and do not re-cock. The crossbow has effectively dry-fired, so inspect the limbs, tips, string and rail for damage before anything else. If you find a crack or lifted lamination, or you are unsure, have a dealer or the manufacturer inspect it before it is used again.
Final Recommendation
Restringing is the easiest major service a recurve crossbow will ever need, provided you let the stringing aid and the trigger do the flexing. Fit the holders fully, set the rope length so the loops slip on freely, seat both loops in their grooves, take the weight before you release, and lower slowly. Check the loops, serving and brace height before the first shot and expect to re-zero.
Keep a spare string, the aid and the cocking rope together in the case, and the only thing a worn string will cost you is twenty minutes. For the routine that stretches the time between changes, read our crossbow maintenance guide next, and if you are still choosing between limb designs, the recurve crossbows hub compares every recurve I have tested.
Gear mentioned in this guide
Reviews we link to above, highest rated first. Read the full review before you buy.
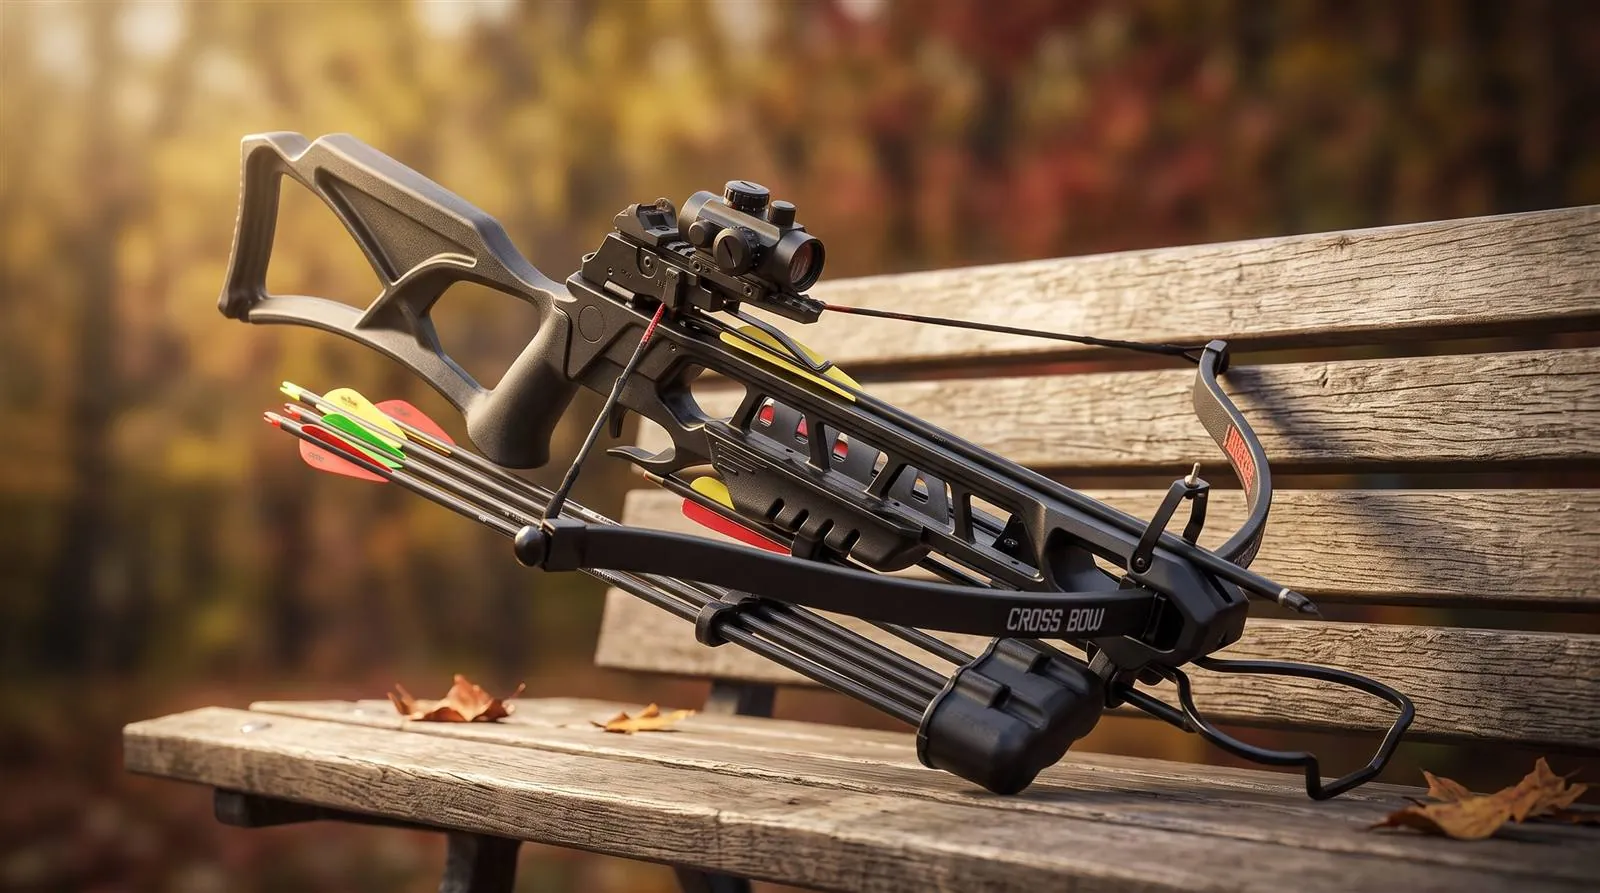
Avalanche Anaconda Crossbow Review
Budget 175 lb recurve crossbow kit with red dot, quiver and cocking rope. Chronographed at 232–241 FPS, about 5 lbs, simple limbs that suit first-time buyers.
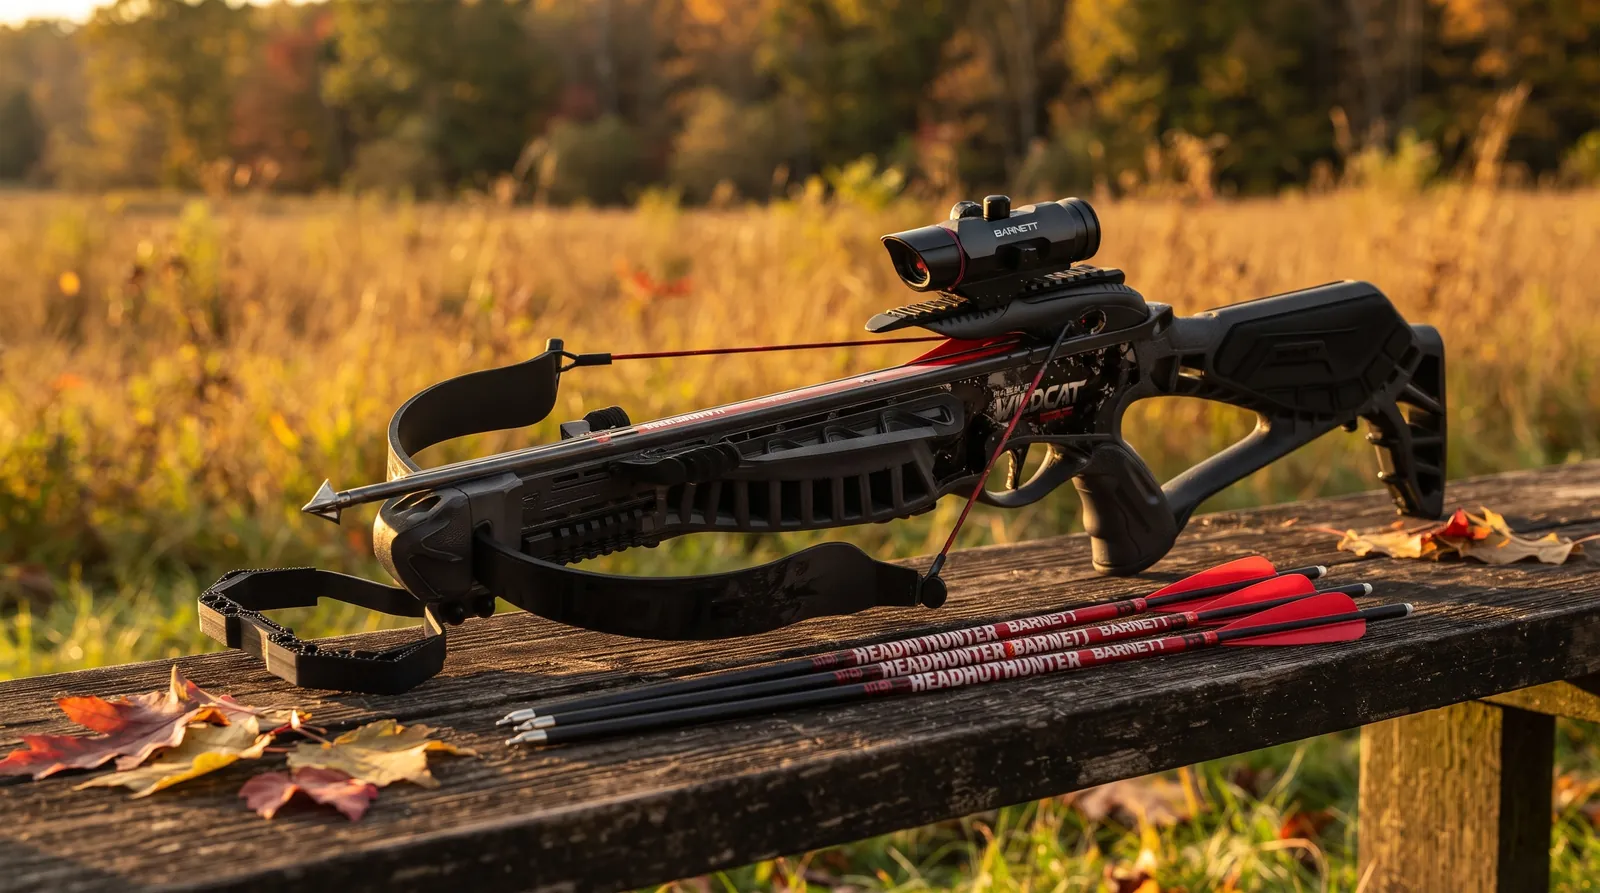
Barnett Wildcat CRX Review
Low-cost recurve crossbow kit that lands close to its 280 FPS rating, with strong value but a heavy 195 lb draw that makes a cocking aid essential.
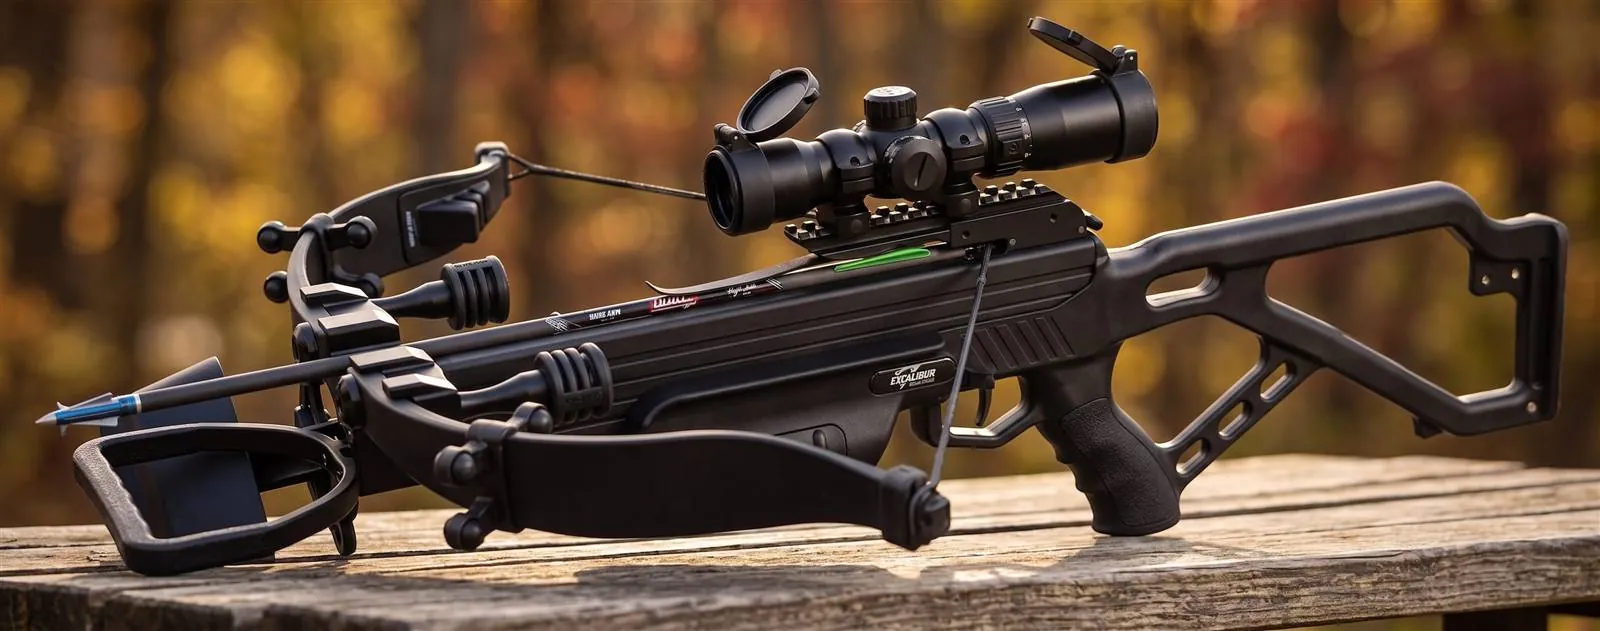
Excalibur Mag Air Review
Light 4.9 lb recurve crossbow with a dependable anti-dry-fire trigger and quiet shot, measured at 299–308 FPS. Recurve simplicity at a premium price.
Ready to compare models? Read our tested crossbow reviews to see how each one measured up in testing.
More in Setup, Cocking & Sighting In
How to Decock a Crossbow Safely
How to de-cock a crossbow safely using integrated systems or a discharge bolt into a rated target, plus what never to do and how to fix common mistakes.
Read guide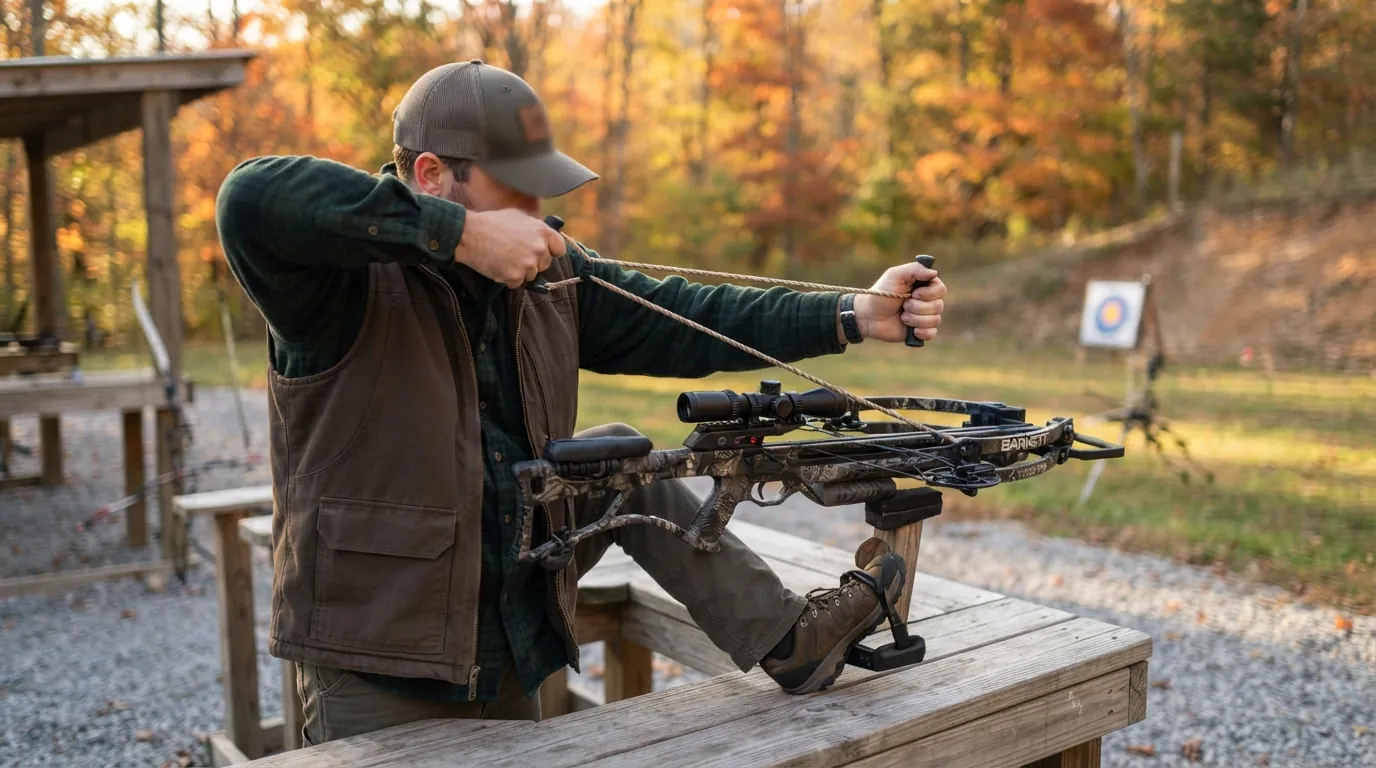
How to Cock a Crossbow: Rope vs Crank
Hand cocking, rope cocking, crank devices and integrated systems compared, with the steps that keep the string centered and your fingers clear.
Read guide
How to Sight In a Crossbow Scope
Sighting in a crossbow scope step by step: safe lane setup, first zero, confirming each aiming point, and re-checking with your hunting tip.
Read guide